How To Create Folders On Your iPhone
Every day, millions of people around the world are using their iPhones to do a variety of tasks. One of the tasks that is becoming increasingly popular is the ability to create folders on your iPhone. This allows you to better organize your content, helping you stay organized and efficient.
Creating folders on your iPhone is a simple process that will allow you to better manage and store information, so you can easily find files and documents when you need them. This article will provide a step-by-step guide on how to create folders on your iPhone.
Get Familiar with App Layout
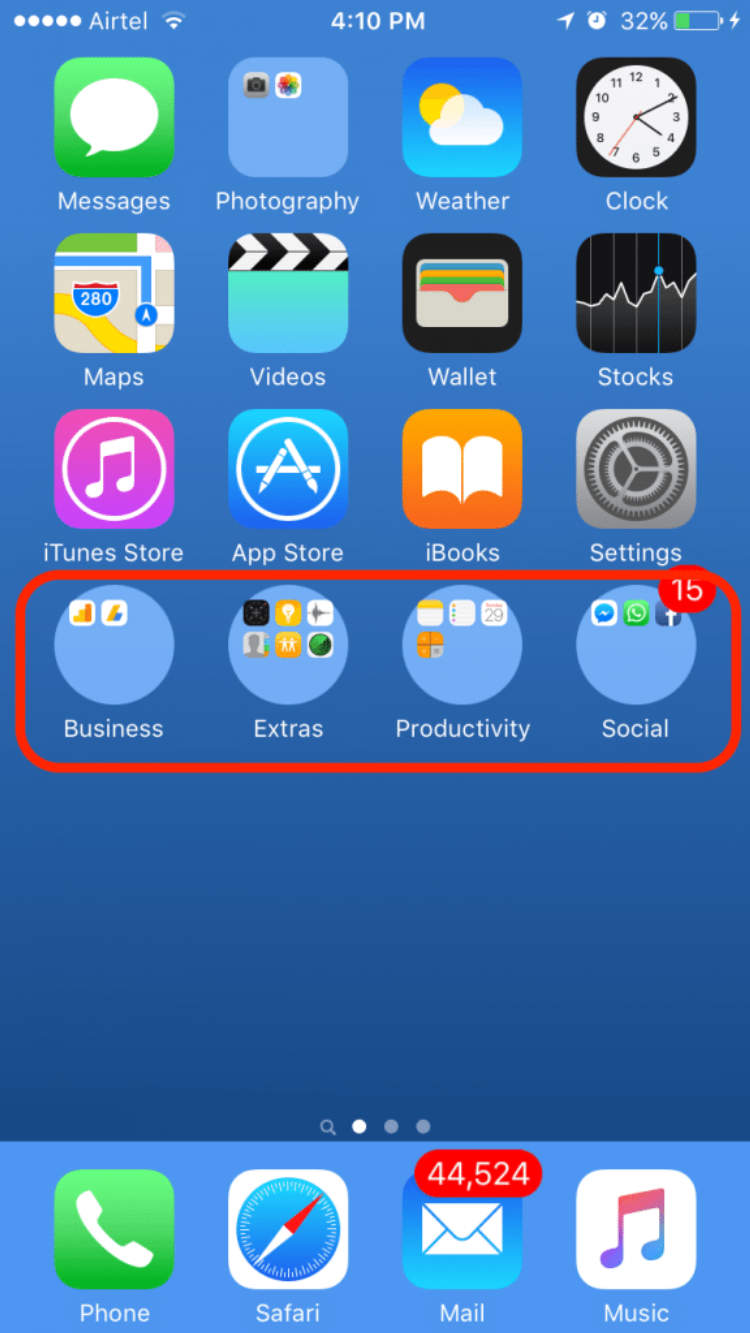
When it comes to our smartphones, it is important to be familiar with the app layout, as this will enable us to complete tasks with ease and efficiency. Understanding the app layout also helps us to quickly locate the features and functions that we need to use. On an Apple iPhone, it is essential to understand the folder system layout, as this will make organizing our apps much easier.
To help you get familiar with the app layout on your iPhone, this guide will provide you with instructions on how to create folders on your device. Follow the steps below to start organizing your apps into folders:
Steps to Create Folders on Your iPhone
- Launch the home screen on your iPhone. This can be done by pressing the Home button.
- Select the app you wish to move to a new folder. Press and hold the app icon until it begins to bounce.
- Navigate to the home screen, then drag the app you selected to the location where you would like to create the folder.
- It will automatically create and open a new folder. Name the folder and continue moving apps into it.
- Press the Home button to lock the apps into the folder.
By following the steps provided, you can easily create folders on your iPhone and effectively organize your apps. With a few simple steps, you can now become familiar with the app layout on your iPhone, and enjoy the convenience that comes with it!
Learn How to Create Folders
Storing apps on the home screen of your iPhone can be quite messy. Fortunately, you can use folders to store multiple apps under one name. In this article, you can follow the steps below to learn how to create folders on your iPhone.
Step 1: Locate the Apps You Want to Group Together
Before you can create a folder, you need to identify the apps you want to store together. Find the apps you want and place them on the home screen. You can also put up to 12 apps in a folder, so if the apps you want to group run over 12, you can spread the groups over multiple folders.
Step 2: Tap and Hold an App Icon
When you have selected the apps you want to add to a folder, you need to tap and hold your finger on one of the icons. After holding the app icon for a few seconds, all the apps you selected should wiggle and have a “x” in the top left corner.
Step 3: Drag and Drop the App Icons Into a Folder
You should now be able to drag and drop the app icons over one another. You may need drag more than one app onto the first one you selected to create a folder. Once you have finished dragging and dropping the app icons you should see a new folder.
Step 4: Rename the Folder
Once you have created the folder, you will need to rename it. By default, the folder is labelled “untitled folder”. To rename it, you just need to tap on the folder and rename it.
Step 5: Add App Icons to an Existing Folder
If you already have a folder, you can easily add app icons to it. To do this, tap and hold an app icon, then drag it over the folder and drop it in. This will add it to the existing folder.
Step 6: Delete an Existing Folder
If you no longer want the folder, you can easily delete it. All you need to do is tap and hold an app icon, drag it out of the folder, and then delete the folder. Once you have done this, all the apps will go back to the home screen.
Manage Folders and Apps
It is very easy to create folders on your iPhone. With folders, you will be able to organize and categorize all of your apps. This will make it much easier to access the apps you need quickly and also save some space on your phone.
To create a folder, follow these steps:
- Touch and hold on the app icon you want to add to a folder.
- Once the icons start to shake, drag one app over the other so they combine into a folder.
- Rename your folder
Once you create the folder, you can add more apps to it by dragging your selected app over an existing folder. You can also break down a folder by dragging an app out of the folder.
Organizing and managing folders and apps on your iPhone will certainly make your life easier and take some of the frustration out of finding the right app.
Conclusion
Owning an iPhone can be an incredibly useful tool for keeping yourself organized, and one way that it’s helpful for this is by creating folders on it. This process is incredibly easy and straight-forward, and all that is needed is the understanding of how Apps are organized on the phone and what iOS allows the user to do regarding folder customization.
Creating folders on your phone helps you to save a lot of time, keep your Apps clean and organized, and can even help you manage your memory. Folding your Apps into folders is a quick and easy way to get some extra tips on how to keep your phone tidy and ready to be used.
Post a Comment for "How To Create Folders On Your iPhone"